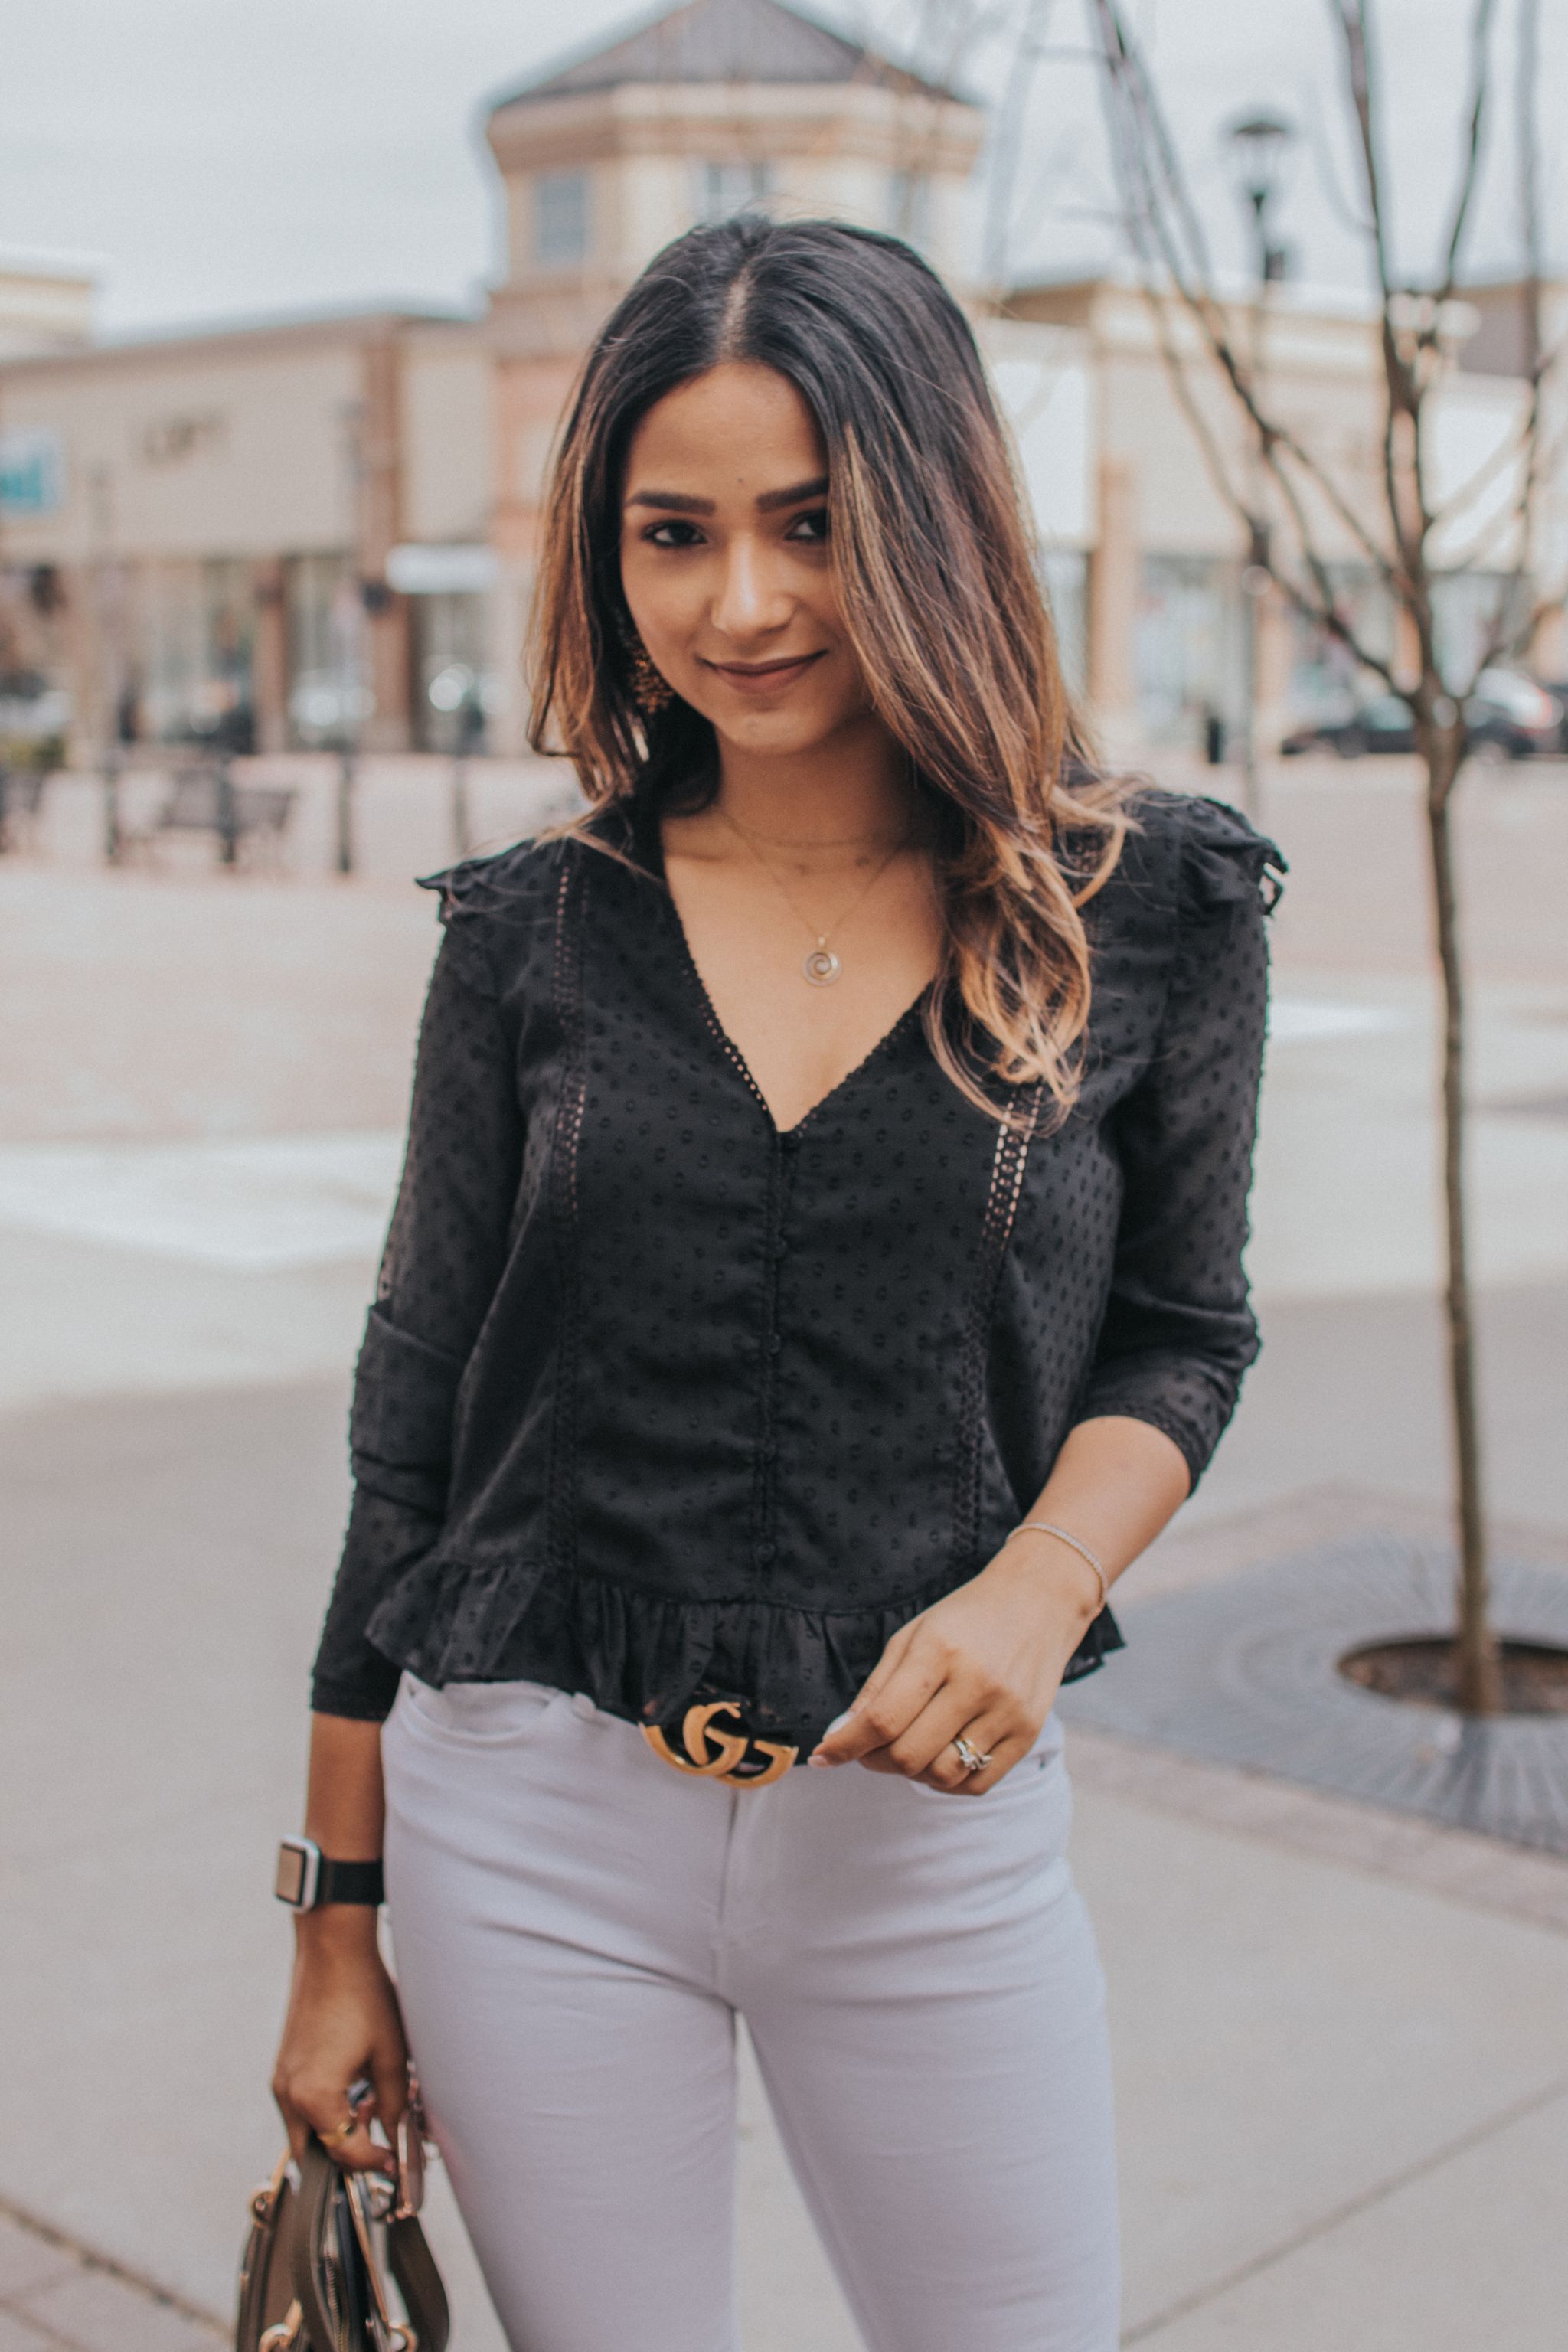
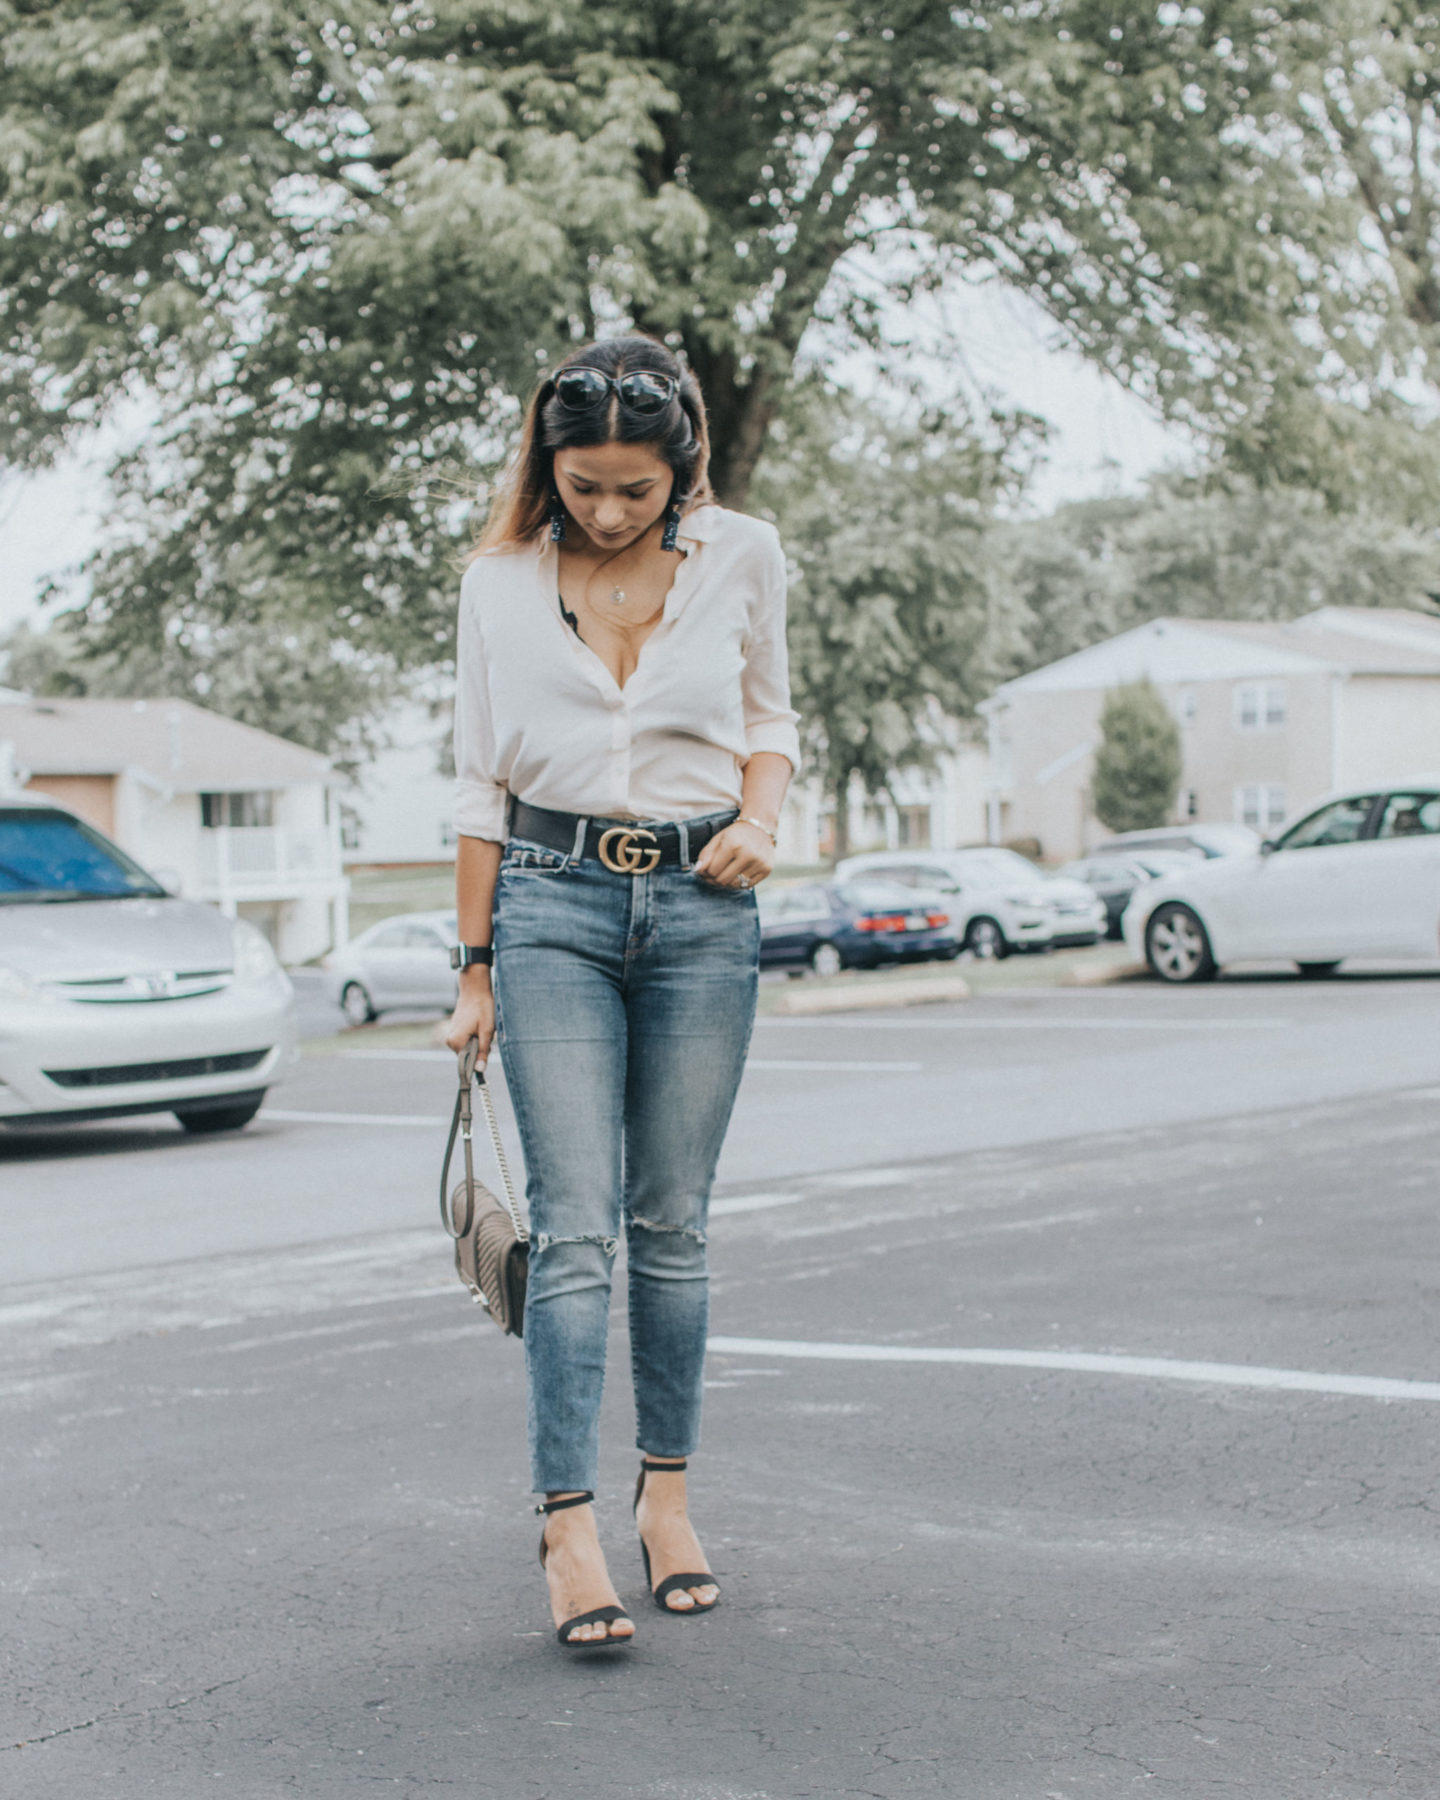
Shirt: Everlane Silk Shirt // Denim: Good American // Heels: Target // Bag: Rebecca Minkoff (similar) // Earrings: Baublebar // Sunglasses: sold out 🙁
Happy Saturday guys! Hope y’all had an amazing week! I have mostly been indoors since it has been very dreary and rainy past week. I also could not shoot any pictures for the blog and even if it doesn’t rain, there is just no sunlight, which makes it harder to take pictures. Since we are already talking about pictures and photos, I think it is right to get straight into today’s topic of blog post- Blog Photography, or how I take pictures for my blog. What equipment I use, when I take pictures, how I edit them, who takes my pictures- everything.
If you would take a look at my first blog post, and my latest blog post, you will notice there is a huge difference in the quality and style. With time, I have learnt so much about a camera, what is aperture, focal length, what lens you need for what kind of pictures. So, let’s get into it!!
Equipment/Camera
When I started posting my everyday OOTD’s on Instagram, I had not started my blog and was only using my iphone and would ask my husband to take a picture or take a mirror selfie. But we always had a Nikon D3100, which is a pretty good DSLR. You can shoot on manual or aperture or shutter mode and also change the lenses. I was using the kit lens that came with it- 55-80mm lens. It was a good lens, but I was craving that beautiful bokeh that bloggers had in their pictures, so I went ahead and bought a 50mm/1.8 lens and it was perfect! The pictures came out so good, very crisp, in focus and I was very happy with it.
As I started to get more comfortable with shooting outdoors and wanted to get more candid shots and shots with movement, it got a little difficult to get that with the Nikon since it had low frames per second (fps) which basically means the speed at which a camera can capture photos. So, I got a used Canon Rebel T7i from Amazon.
It was in a very good condition and came with the charger as well. I got the body separately and bought 2 different lenses. First is Sigma 17-50mm f/2.8 lens which I mostly use when we are travelling and sinc it has a good focal length and zoom, it can take a good fashion photo as well as a travel picture, so we do not have to carry two separate lenses.
Second is Sigma 30mm f/1.4 Art which is a prime lens. Now, I really wanted to get the 35mm f/1.4 Art but that was almost double the price, so I got this. Although, I would say that this lens does have more Chromatic Aberration, but I can work with that in editing.
I also use the camera on manual and depending on the lighting or the time of the day, change the aperture or shutter speed. I try to keep the ISO on the lower side as higher ISO makes the photos look grainy. And also, I never use flash since I just don’t like how a photo looks with flash as it completely changes the quality and appearance. For me- the best combination is LOW ISO + LONG SHUTTER SPEED.
I also take a quite a lot of photos from my iphone 8Plus which has a really good camera. I would admit though, I mostly upload the photos from my phone on Instagram and use my camera for the blog, because I feel like the big laptop screen would make phone photos look not so sharp, but that’s just me. 🙂
I sometimes like to take pictures of both my husband and I and since it is just the two of us, I use a tripod. The one that I have is a very basic one from Amazon, which is their AmazonBasics line.
Editing
Lightroom is my choice for editing any photo. I have learnt so much in lighroom and I love that you can edit EVERY SINGLE THING in it. I started with photoshop but that was just way too much for me and so I switched to lightroom. It does take a little bit to learn all the different functions and I am still learning on how to make the tone curves work.
Lighting
As every one says, lighting is very important for a good picture. Natural light is the best for a good picture since you have a good room to make changes. I am in East coast and as soon as winter hits, natural light is only until about 4 or 4:30 PM and since I work full time and come home at around 5, it is almost impossible for me to take any pictures after. So, I try to squeeze in as many outfits and flatlays as I can on the weekends.


Right Angles
Now, since my husband takes all my pictures, I am going to hand it over to him to talk a little bit about why angles are important. Oh and this also marks his debut to the blog!!! 🙂
Many might consider a photographer job to be easy and would be a piece of cake as one might wonder you just have to click behind the lens. To be honest I was one of those persons too!
Gradually over time taking pictures turned out to be serious and interesting affair for me and I’m still work in progress with my photography skills but I enjoy every bit of it especially taking pictures for the wifey for her blog photography. Every aspect matters for me like the good camera along with good lens, angle, focal length, ISO, aperture etc. that all leads to “that perfect moment”!
I normally take pictures when there is ample sunlight as I can play around with the ISO and a good angle is must for me as that can turn a normal pose into an awesome looking shot. Also, in detailed shot for her heels or bags I try to keep focal length between 1.4 – 1.8 so depth of field is good and background is blurry, or you get a “bokeh”, so that the final outcome comes out good. These are some things which I’ve learned over time and try to implement for her blog photography.
Hope you guys got something out of this “very lengthy” blog post, but I wanted to cover everything. Please let me know if you have any questions, feel free to email me!
XO